Last Updated on October 19, 2024
Exposure to harsh weather conditions and salty seawater can reduce the smoothness of your skin. When temperatures are rising and there is an increase in the activity of your sweat glands, you would not want your skin clogged using greasy lotions.
This simple lotion bar recipe utilizes the best natural ingredients to create a non-greasy product that gives your skin a lasting soft feel. The bars resemble ordinary bar soap but comprise of ingredients that can moisturize and nourish your skin.
Even if you have never used homemade lotion before, you can easily follow this recipe to come up with a few bars for your family.
Table of Contents
Supply List
For this recipe, you will need the following:
Ingredients
- Half a cup of distilled water
- Half a cup of grated beeswax
- A quarter cup of coconut oil
- A quarter cup of jojoba oil
- One teaspoon Vitamin E oil or rosemary extract
- 16 drops of essential oils of your choice
Although most lotion bar recipes utilize cocoa butter or shea butter, you will realize that I have left these out because they are too heavy for non-greasy lotion bars.
Coconut oil: Coconut oil is highly saturated and can remain in the solid-state at room temperature. It absorbs into the skin easily and has a longer shelf-life than some natural oils. It is also less greasy, thus ideal for our recipe today.
Jojoba Oil: Jojoba oil is very nutritious to the skin. It is less greasy as well and makes dry skin to glow. Jojoba oil does not evaporate from the skin easily. It is full of nutrients that protect the skin from damage. You can substitute it with olive oil or sweet almond oil since they all share the same absorption rates.
Beeswax: Beeswax contains no chemicals, fillers or additives. It is an ideal addition to your lotion bar if you have concerns about the health of your skin. Its purpose is to create a protective layer on your skin and prevent it from losing water.
Equipment
In terms of the equipment, you will need:
- Measuring cup
- Bowl
- Source of heat (broiler or microwave)
- Food processor
- Molds
Instructions
Step 1: Mixing the Ingredients
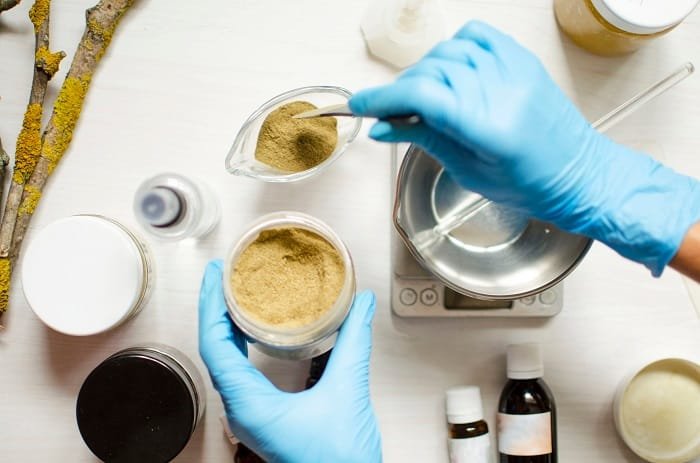
Combine the beeswax, coconut oil and jojoba oil in a bowl. Put them in a broiler or microwave and allow the mixture to melt. In case you do not wish to use beeswax, you can replace it with carnauba, soy or Candelilla wax which serves the same purpose. In the resultant mixture, add the distilled water. The water should stream in the oils and blend automatically.

Step 2: Heat the Mixture
Power the food processor and pour the mixer into it slowly to ensure it emulsifies completely. Occasionally scrape the ends of the bowl to remove any stuck portions of the mixture. Continue blending and pouring the mix for about 15 minutes, or until you are satisfied with the texture of your lotion.
Step 3: Add Essential Oils
Add vitamin E and other essential oils to the mixture and stir well. You can make different layers of essential oils on top of the mixture to achieve a unique scent.
Step 4: Package for Molding
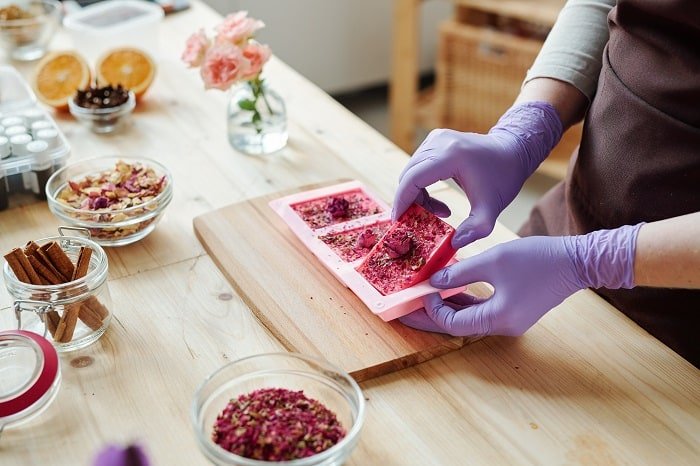
Pour the liquid into molding containers of your choice. You can use lip balm tubes or any other tubes you may be having at home. Set the tubes on a flat surface so that the lotion dry uniformly. Half-fill the tubes first, allow the mixture to dry slightly before filling them up. If you want the mixture to harden faster, place it in the freezer for approximately 30 minutes.
Step 5: Unmolding
After a few hours, the lotion hardens and you can easily remove it from the molds at this stage. In case you do not have any special storage tools, use a non-plastic container. Keep the bars in a dark place. If you store them well, they can last for a long time.

Step 6: Testing
In case your lotion bars come out a bit greasy, you can remelt them and add more beeswax. In case they are too sticky, remelt and add more coconut and jojoba oil. Experiment with different portions of the oil and wax until you are satisfied with the results. This is one of the amazing lotion bar recipes non-greasy that can bring healing and protection to your skin, hands, and heels.
Step 7: Using the Bars
This is the final stage where you use your bars. Simply rub them directly on the skin and massage using your hand until the lotion has been absorbed. You may also rub the lotion in your hands first before applying it to your body. The following video by Renee Harris demonstrates how you should use the non-greasy lotion bars on your body.
Pro Tips
- For a smooth preparation process, make sure that you have all the ingredients at your disposal before you start working
- Lotion bars are sensitive to heat. To maintain their solid-state, keep them in a cool and dark place away from any form of heat. If you live in a highly humid area, you can keep them in the fridge
- Use different molds to get different shapes of lotion bars
- When choosing ingredients, use those that have a shelf life of not less than 6 months to avoid repeating the same process all the time
- Always keep the extra bars in sealed containers
Conclusion
This recipe lasts about 15 minutes from start to finish. If you are making the bars for the whole family, consider producing several smaller bars instead of the big ones so that everyone gets their own. Here is a breakdown of the amount of time you need to complete the recipe:
| Procedure | Time |
| Collection of the necessary tools and ingredients | 5 minutes |
| Mixing of the ingredients | 4 – 5 minutes |
| Molding the lotion bars | 30 minutes when refrigeration is used
3 – 4 hours without refrigeration |
I hope this tutorial has been of help, and that you can now make your own non-greasy lotion bars from the comfort of your home. I have been using the recipe for quite some time and the positive effect the bars have had on my skin is amazing. Please feel free to leave a comment below the article, or to share it if it has been helpful to you.

Lacey is an environmental enthusiast and passionate advocate for living green and sustainable. She believes that everyone can make a difference, no matter how small. Lacey is dedicated to reducing her own carbon footprint and educating others on the importance of living greener. She is an advocate for green energy and sustainable practices. She is an active member of her local community, volunteering with local conservation efforts, and taking part in sustainability initiatives. Lacey is a firm believer that the only way to ensure a sustainable future is to work together and make small, but important changes.

