
Essential oils are organic compounds made from certain plant extracts that are mainly beneficial for medicine and cosmetics. The tradition of extracting essential oils has long been practiced in the past and has continually been practiced up to the present.
Apparently, the properties in essential oils are highly appreciated and praised by the people that in terms of its value, it can either go expensive or even rare for some extracts. Apart from its health and beauty purpose, essential oils also attract users due to its tendency to exude pleasant smell.
That’s why, despite the process and its value, people would still continue to purchase one for themselves due to its medicinal and beauty effects and its pleasant smell – it so happens that I am one of those people. Discussing how to make essential oils from dried herbs is an interesting topic that will certainly make you appreciate the oil even better.
While you have the option to purchase ready-made essential oils from the market, you can actually make your own. In this article, I’ll guide you through the steps you have to follow regarding how to make essential oils from dried herbs.
What You Will Need:
The sole purpose of making your own essential oil is for you to enjoy its benefits without spending too much money. In creating your do-it-yourself essential oil, you will be needing these materials:
- 10-mm wide glass pipe
- Heat
- Pressure cooker with lid
- Coldwater tub for condensation
- Essencier to separate the essential oil from other mixture
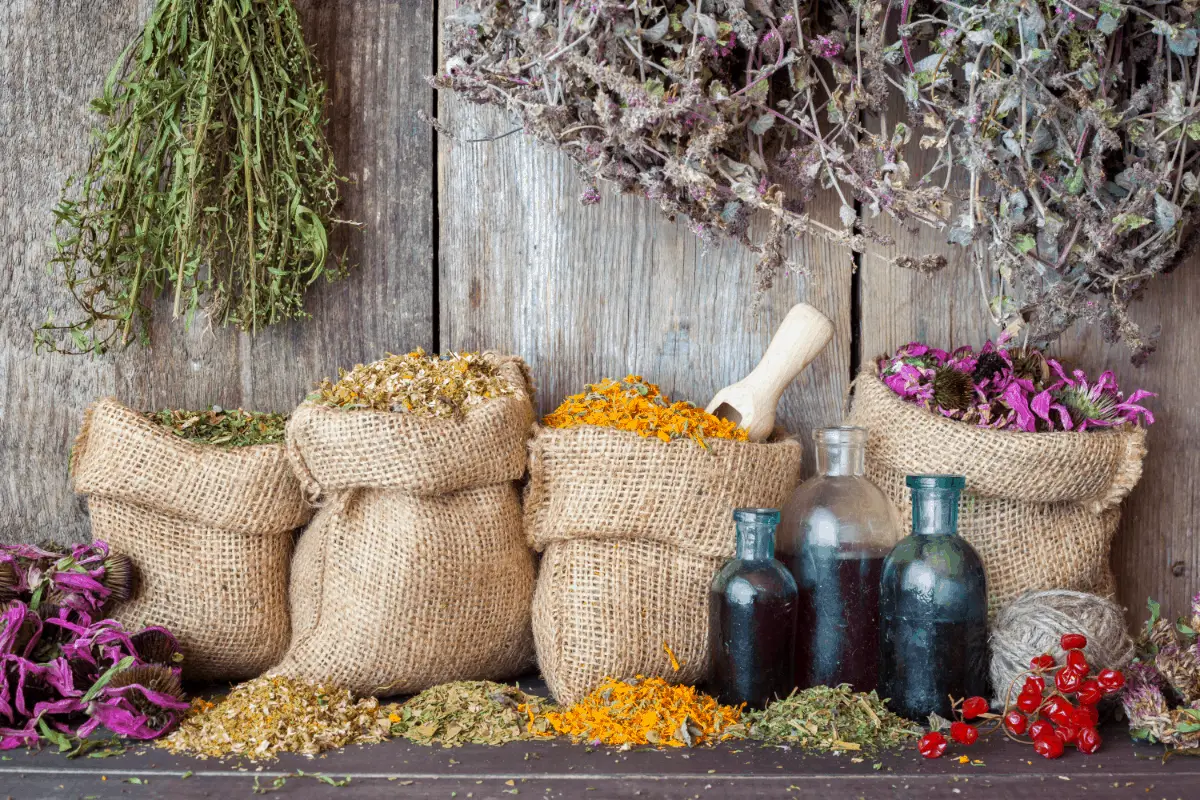
- Dried herbs
- Cheesecloth or clean cloth
- Sterile container
Step-by-Step Procedures
Step 1
Depending on your chosen plant, you must always see to it that you’ll be able to harvest the plant correctly and at the right time. Plants don’t have a standardized harvest season, and each plant varies from time to time. Therefore, you should do some intensive research about your chosen plant for a perfect harvest.
As for wrongly harvesting your chosen plant, this will most likely affect the plant’s overall oil quality. As you can see, the majority of oil-producing plants are handled in their most delicate area. That’s why you should practice extreme precautions in handling plants to avoid disrupting its quality.
Step 2
The next step is drying your plant source. The reason why it’s advisable to dry out your herb is for it to produce more essential oil per batch. This process is slow and must be exposed directly to sunlight. Don’t overheat the plant as much as possible to retain its quality.
After the plant has been dried, three steps are properly followed to completely extract the essential oil from the dried herb:
- Distillation process – to begin this procedure, you must fill your tank with water — though this may vary on your distillation equipment. You can make use of a pressure cooker in case you don’t have your own still. Make use of a distilled soft water, ensuring that you’ll be able to come up with enough water to complete the process. The overall process of finishing the distillation process varies wholly on the plant used. After boiling the water up to 100 degrees celsius, distilling the plants occurs. Some plants can finish for only 30 minutes while other plants might take as long as 6 hours to finish. Be cautious of the steam outlet on the pressure cooker’s lid by making sure that it’s not blocked. Properly sealing the lid will release the steam directly from the pipes that are connected to the cooler. Allow the plants to be boiled up to 100 degrees Celsius to extract their essential oil.
- Cooling process – the cooling process begins once the mixture has been completely boiled and the steam has escaped via the condenser. After this step has been achieved, the product is then placed in the separator. This step is less tedious as you only need to check if there’s water in the pressure cooker and change the water from time to time, especially for those plants that require a longer distilling process. Replacing the water from the tub with ice cubes is necessary to make sure that the process is effective, especially when the water starts to warm due to the hot pipes.
- Filtration and collection – After the distillation and cooling process, filtering your essential oil from other materials is done with the use of a clean cotton-based cloth or cheesecloth. Using a clean cloth is important in order for the dirt or detergent not to mix with the oil. Upon collecting the oil, you should be aware of the total volume of oil that you’ll be collecting from your plant source. Regardless of the abundance of plant source that has been distilled and cooled, the quantity of essential oil extracted will always be lesser. However, the total volume collected varies from the type of plant used.
Step 3
Once you have completely collected all of the essential oils extracted from the plant, you must prepare a clean, sterile container to ensure that it’s safe from contamination. To preserve its effectiveness longer, it’s best to place it inside an amber-colored container and stored away from light and heat.
Tips and Tricks
- Your DIY essential oil can last up to two years at maximum as long as it’s stored properly. However, you must not keep it longer than the aforesaid years as its effectiveness becomes less efficient due to the exposure of oxygen.
- Essential oils are useful in getting rid of wrinkles and acne, especially when processed properly. Therefore, it’s considered as a relatively safe alternative to commercial products sold in the market with questionable ingredients.
Conclusion
Essential oils are greatly appreciated by people in the past up to the present due to their associated health and cosmetic benefits. Although there are commercially available essential oils in the market, making your own can be pocket-friendly and proven to be safer since you’re the one who freshly picked your plant source to be dried, distilled, cooled, filtered, collected, and stored in a clean, sterile container.
Essential oils are viable for a maximum of 2 years, enough for you not to undergo such a tedious process in making one and also for you to completely enjoy its benefits without splurging much money constantly.