Have you always wondered how to make lye-free soap with baking soda and coconut oil? You’ve come to the right place! It would be best to get all the necessary soap-making supplies to get the right outcome for your soap process. The first thing you need when making soap with soap, baking soda, and coconut oil is to ensure you have everything necessary to make that happen.
Making soap at home requires that you know the basics of soap-making. How do you start making soap if you’re new to the experience? In this article, I’ll help you understand what you need to hit the ground running when making eco-friendly soap from home. When you are ready to start your soap-making process, ensure you get all the supplies you need handy.
Table of Contents
Getting Your Soap-Making Kit Together

Alright, let’s be honest for a second. Have you ever tried something new, thinking, “Hey, this will be a piece of cake,” only to find yourself halfway through, covered in coconut oil, wondering where it all went wrong? That was the first time I attempted to make soap with baking soda and coconut oil. Don’t get me wrong—I got there eventually, but not without some spills, laughs, and a few “what-the-heck” moments.
Here’s the thing: once you nail this, it’s pretty magical. Plus, it feels perfect knowing you made something from scratch that’s good for your skin and has no mystery ingredients. Let me take you through this (sometimes messy, always fun) process and share how you can make your skin-loving, lye-free soap bars. Spoiler alert: It’s easier than you think. It’s way more satisfying than watching yet another YouTube video on it. You got this.
Why Baking Soda & Coconut Oil?
Now, hear me before you roll your eyes and ask why I didn’t just go to the store. Baking soda and coconut oil are like the ultimate tag team for skincare. One exfoliates, and one moisturizes. It’s that simple. Plus, it’s literally in your kitchen, so why not?
Baking Soda
This humble, unassuming powder is a gentle exfoliator. Think of it as your skin fairy godmother, gently buffing away dead skin cells and helping you feel like a newborn again—minus all the crying. It’s not too harsh, so it’s safe for most skin types.
Coconut Oil
Ahh, coconut oil. It’s like a tropical vacation in a jar. It is hydrating and nourishing, and it smells like summer. And because it’s antibacterial, it’s great for keeping your skin fresh and healthy. Plus, you can use the leftovers to deep condition your hair or make your pancakes extra buttery. Multi-tasking win!
My First Attempt: A Soap-Making Comedy
So here’s how my first go at this went down: I figured I’d soften the coconut oil in the microwave, but being the genius that I am (or so I thought), I ended up melting the entire thing into an oil slick. Not exactly what I was going for. Pro tip: Don’t completely melt the coconut oil. You want it soft, like butter that’s been left out for a little bit, not a full-blown pool of oil. Lesson learned.
Things started to look up once I got the oil to the right consistency. Mixing baking soda into coconut oil feels like frosting a cake. A cake you won’t want to eat, but still… there’s something oddly satisfying about it.
What You’ll Need (AKA The Bare Necessities)
- 1 cup of baking soda
- ½ cup of coconut oil (go for the good stuff—organic, unrefined)
- Essential oils (optional, but come on, we all love an excellent lavender-scented moment)
- Silicone molds (or anything that’ll hold the soap mixture—no judgment if you use a muffin tin; I’ve been there)
Step-by-Step: Soap-Making Adventure

1. Soften the Coconut Oil
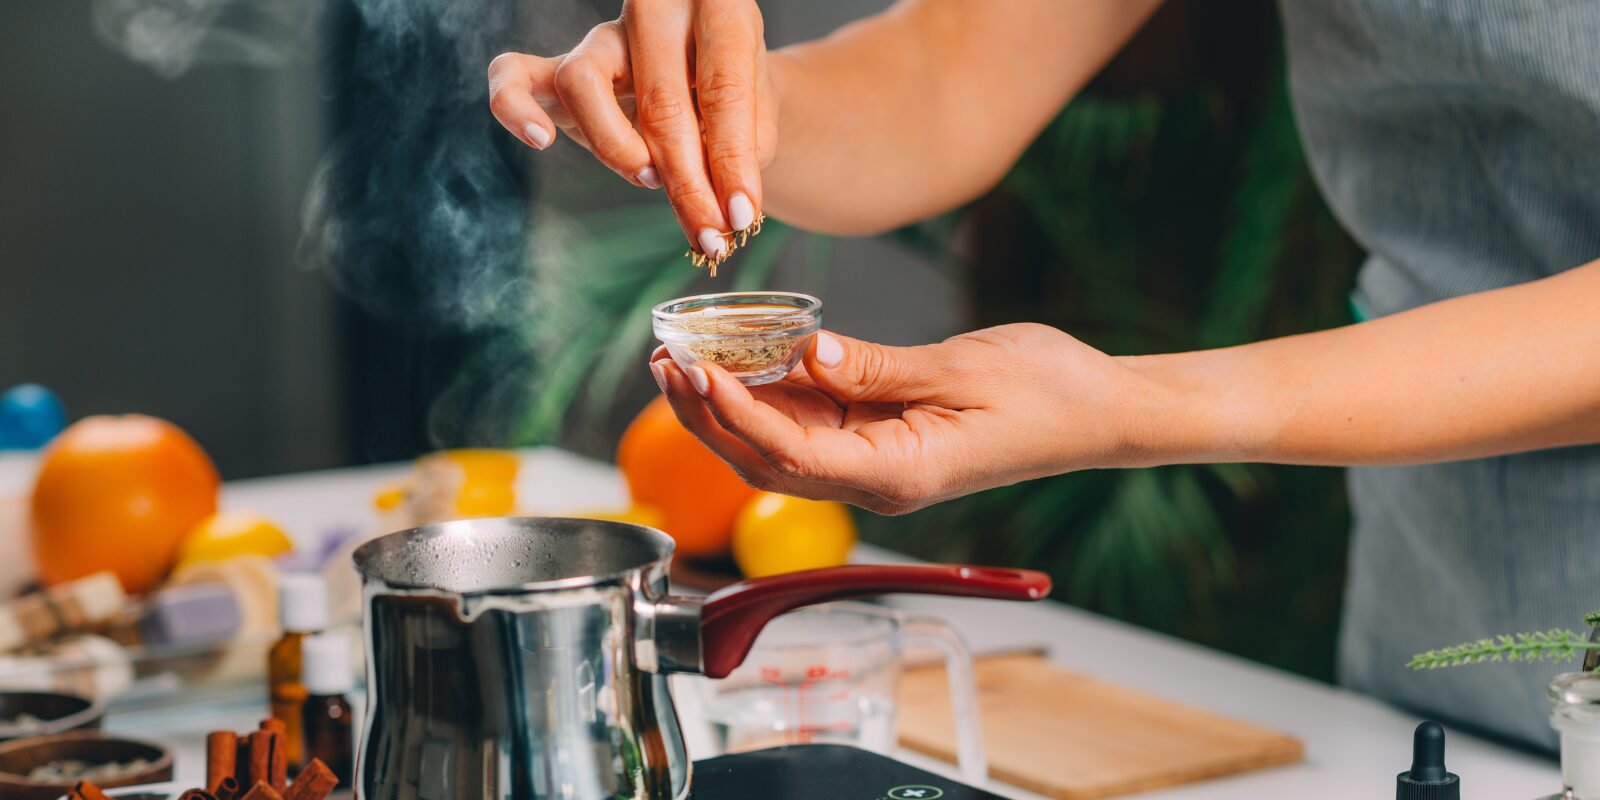
Okay, so lesson number one: soften, don’t melt. Stick your coconut oil in the microwave for 10 seconds. If you’ve already turned it into liquid, let it sit until it’s that perfect, soft consistency. We’re talking like room-temperature butter here—something that spreads quickly, not something that drips. You want to avoid an oil spill situation.
2. Mix in the Baking Soda
Here’s where things get fun (and a little messy, if you’re anything like me). Gradually stir the baking soda into the softened coconut oil. It will start looking like frosting, which might be tempting to taste, but trust me, don’t. Stir it until the mixture forms a thick paste that’s moldable. At this point, you’re a skincare chef.
3. Optional (But Highly Recommended): Add Essential Oils
If you want to feel like you’re in a spa, now’s the time to add a few drops of essential oil. I go with lavender or tea tree because I’m all about that calming vibe. But feel free to get creative—peppermint for that “ooh, refreshing” feeling or eucalyptus if you want to pretend you’re in an aromatherapy session. Just 5-10 drops should do it.
4. Mold Time
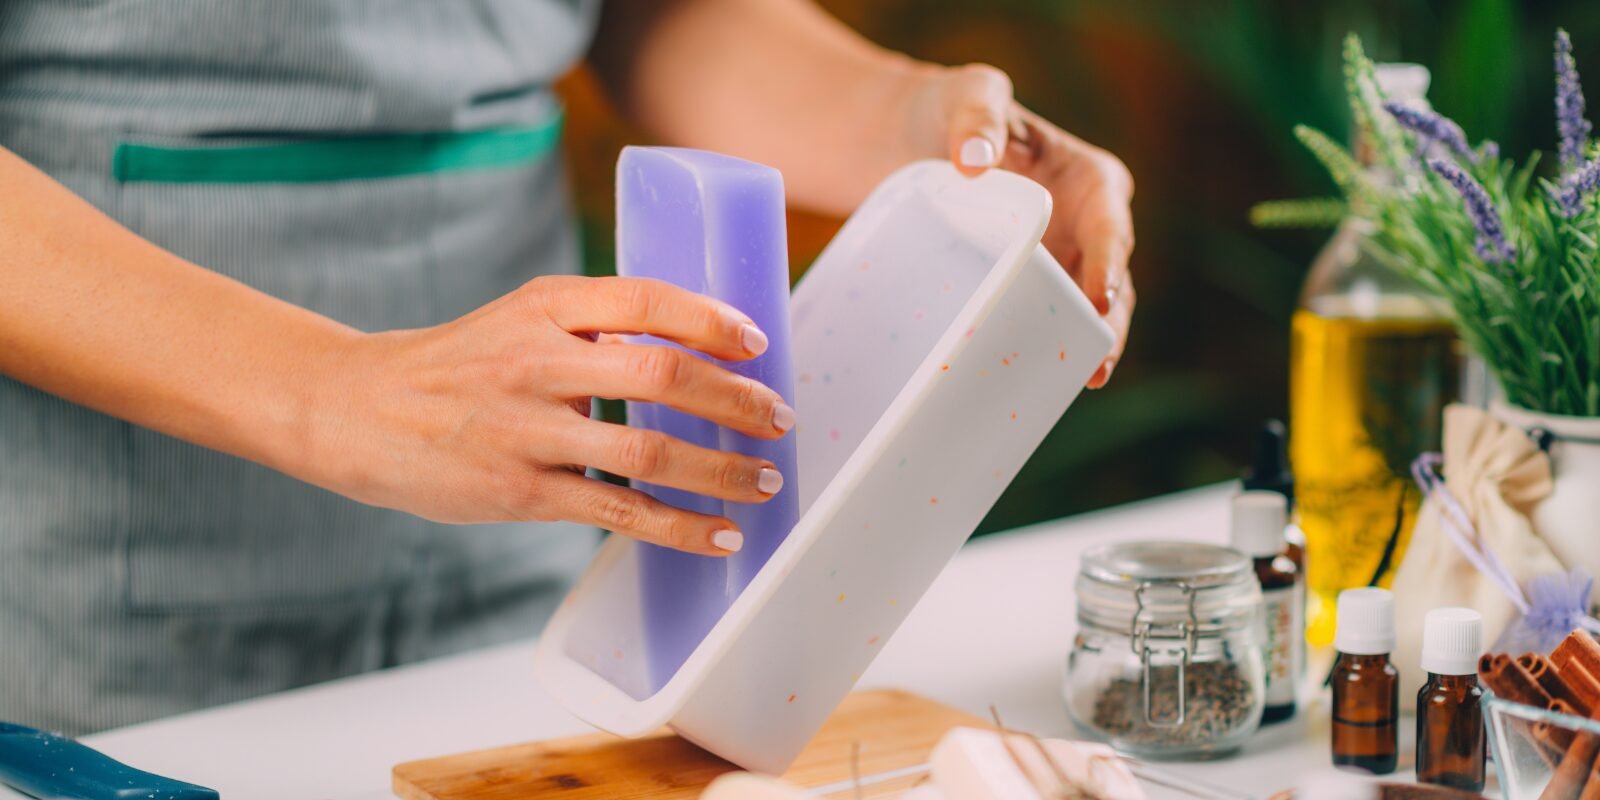
Pack your mold (or that muffin tin you swore you’d never use for soap-making) in your mixture. Press it down until it’s even and smooth on top. If you want to get fancy, sprinkle some dried flowers or oats. You know, just for that Pinterest-level finish.
5. Chill Out
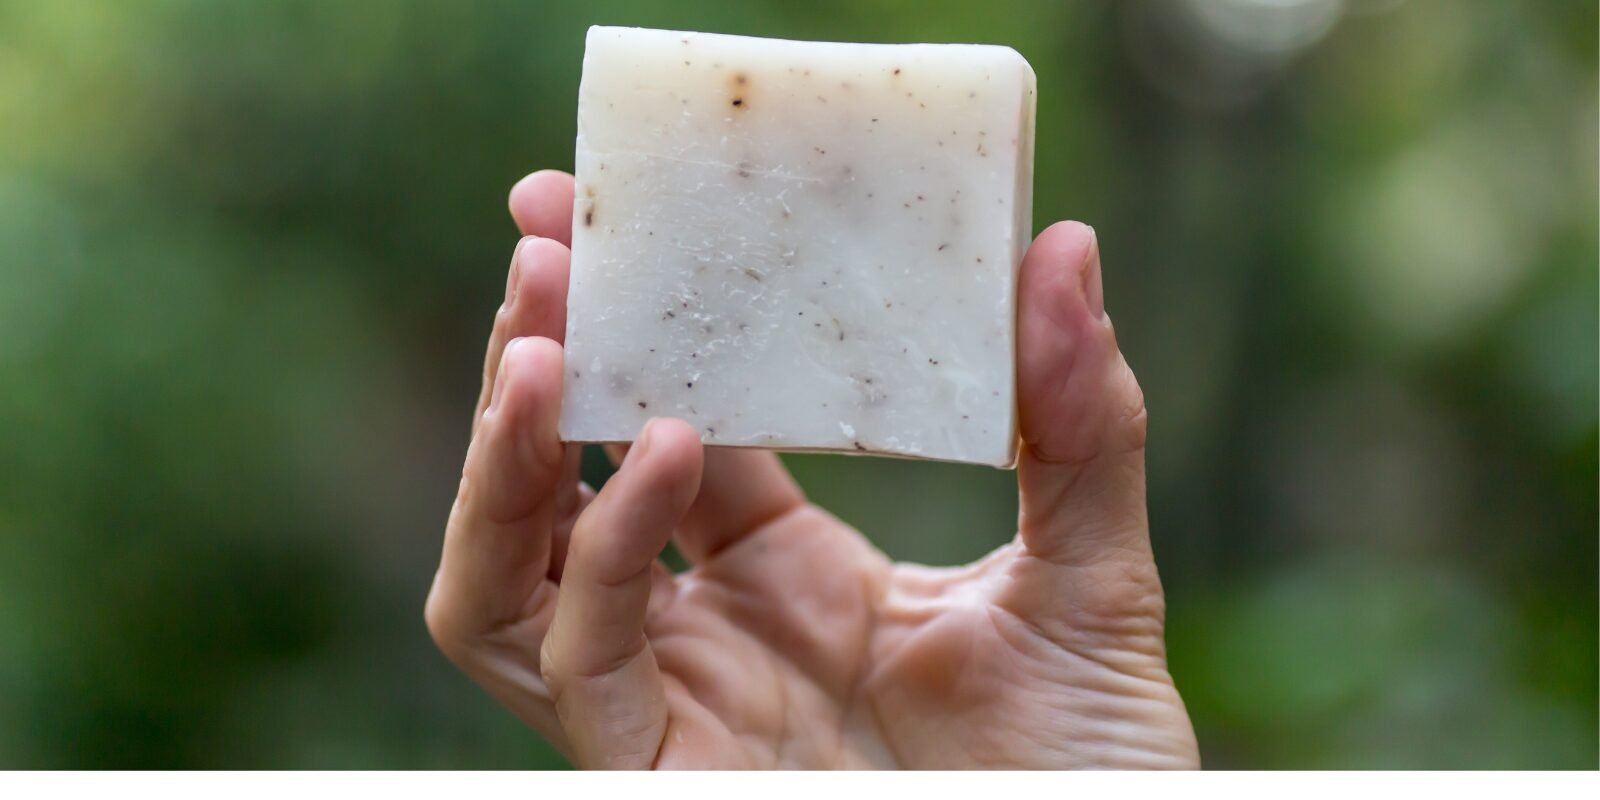
Stick your molds in the fridge for about 1-2 hours. This is when you resist the urge to poke them every 5 minutes to see if they’ve set. Once they’re solid, pop them out of the molds, and BOOM—you’ve got some handmade soap bars. How fancy are you?
Customizing Your Soap: Let’s Get Creative
Want to take your soap to the next level? Here’s where the real fun begins. You can add ground oats for extra exfoliation or sprinkle dried lavender for that spa-like vibe. If you’re feeling extra fancy, add a splash of activated charcoal for detoxification (fancy, right?). The possibilities are endless; honestly, there’s no wrong way.
Gifting Idea
Pro-tip: These homemade bars make killer gifts. Wrap them up in some brown paper, tie them with string, and bam, you have a homemade, eco-friendly gift that will make you look like a DIY master. People love that personal touch and trust me; they’ll think you spent hours on it.
Why Lye-Free Soap is the Best Thing Since Sliced Bread
You might think, “Wait, isn’t lye necessary for soap-making?” Normally, yes. But the beauty of this recipe is that you’re skipping the lye altogether—no dangerous chemicals. No gloves or goggles are required. Just pure, gentle ingredients that you can pronounce. Plus, your skin will thank you for it—especially if you’ve got sensitive skin like me.
Watch the Full Tutorial on YouTube!
If you’re more of a visual learner like me, I’ve got you covered! In our YouTube video, you can watch the entire step-by-step process of making lye-free soap with baking soda and coconut oil. It’s a fun, laid-back guide where I take you through the whole process—from mixing the ingredients to popping the soap out of the molds! 🎥🧼 Check it out here and be sure to like, comment, and subscribe for more natural DIY projects!
My Final Thoughts
Listen, I’m no Martha Stewart, but making soap with baking soda and coconut oil? It’s pretty life-changing. Not only does it save you money, but it also gives you peace of mind, knowing exactly what’s going on with your skin. Plus, it’s fun! And let’s be honest, who doesn’t love the feeling of making something from scratch?
So what are you waiting for? Give it a try, and let me know how it goes. In the worst-case scenario, you’ll end up with a great-smelling kitchen. Best case? You’ve just made your eco-friendly soap bars that will impress anyone who comes over.

Barbara is an environmental activist and sustainability advocate who loves living green and sustainable. She firmly believes in reducing her carbon footprint and has been making great strides towards achieving this goal. Barbara is a vegan and avid recycler and has been actively involved in community gardens and other green initiatives. She is passionate about spreading awareness about the importance of living in a sustainable and eco-friendly manner. Barbara is always looking for ways to make a difference in her community and beyond. She is a huge advocate for preserving nature and the planet for future generations.

